Head Tags
Head Tags are tags which are placed in the header of your website. Head tags are not visible to customers on your website and allow for 3rd party applications to work on your site. You can configure global head tags which load on every page or head tags can also be configured on the page level and only be included on that page.
Google Tag Manager
We recommend using a tag management solution like Google Tag Manager to add tags and 3rd party scripts to your store.
Navigate to Google Tag Manager.
Select the appropriate customer account.
Copy the GTM key from Tag Manger.
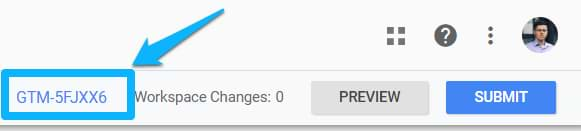
Paste this key into the Store Builder > Head Tags > Google Tag Manager Key.
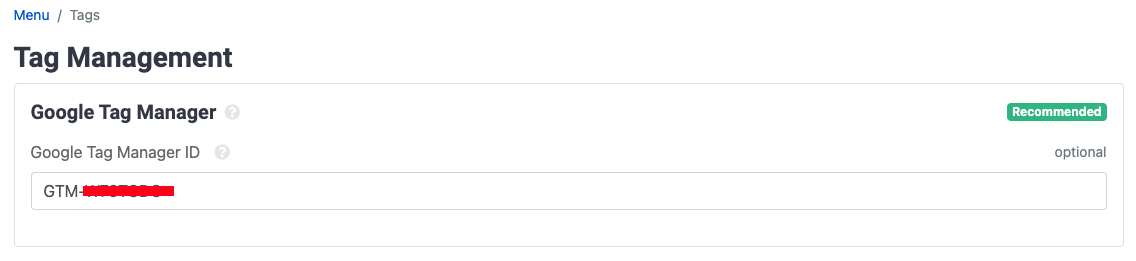
Select Save Tags.
Adding Tags
Sometimes it might be necessary to add custom tags outside of Google Tag Manager such as custom fonts or custom CSS styles.
From your store menu navigate to Head Tags under Content.
Select Add Tag.
Select the type of tag you would like to add.
meta
link
script
noscript
style
title
Select if the tag is external, hosted on another site, or if the file should be generated locally by checking the External checkbox. Applies to link, script and styles tags only.
Enter the desired information and select Save Tag.
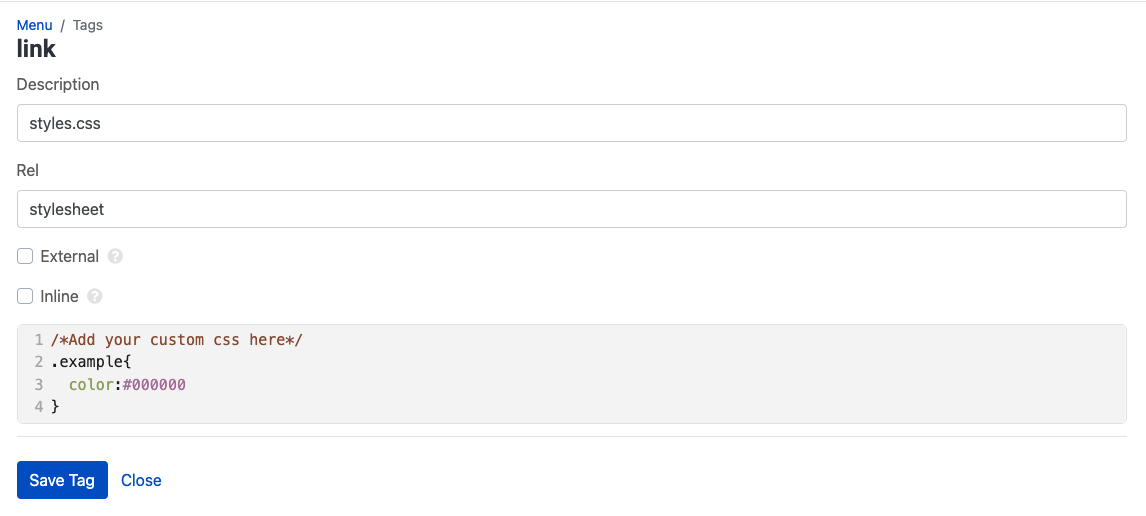
Custom Style Sheets
We recommend using a link head tag to include custom stylesheets as this will generate a file
Create a new link head tag.
Enter the name of the stylesheet for example “styles.css”
Add your custom styles.
Select Save Tag.
Required Tags
The following tags are required for your store to display properly. By default required tags come with the store when creating a store from a store template.
link: Bootstrap REQUIRED
The Bootstrap CSS library is used to control the colors and visual elements of stores. By default Bootstrap styles are generated from https://bootstrap.build. See Look and Feel for more information on customizing the look and feel of your website.
Stores currently use Bootstrap version 4.6
link: Font awesomeREQUIRED
Link to Font Awesome icon library which is used to display icons throughout the site.
https://fa.mpowerpromo.com/css/all.min.cssSuggested Tags
title:
Default title for all pages in the store if a page title is missing.
description:
Default descriptions for all pages in the store if a page description is missing.
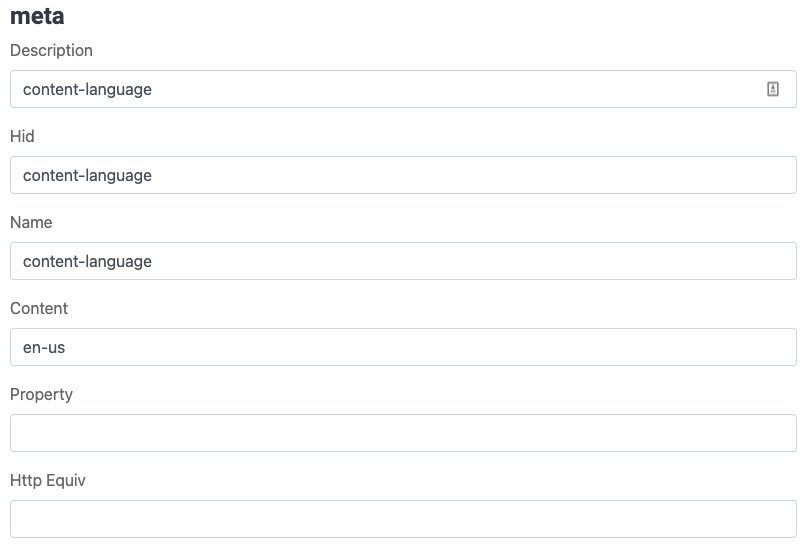
meta: content-language
Adding 3rd Party Javascript Libraries
We recommend using Google Tag manager to manage 3rd party javascript libraries.
If you need to add a 3rd party javascript library that can’t be added through Google Tag Manager you can can add one to the stores head tags or a specific pages head tags. Its better to narrow the scope of the tag you are including to just the page its used on vs the entire website to reduce the amount of data the client must download on every page.
See How can I add live chat to our site? or review the example below.
Example of a script which might be provided to you.
<div id="yourscript"></div>
<script async defer scr="https://yourscript.com/goeshere.js">
Add Script
Navigate to Store Builder > Pages > Your Page > Head Tags to add this script to all your pages or Store Builder > Pages > Your Page > Head Tags to add this script to a specific page.
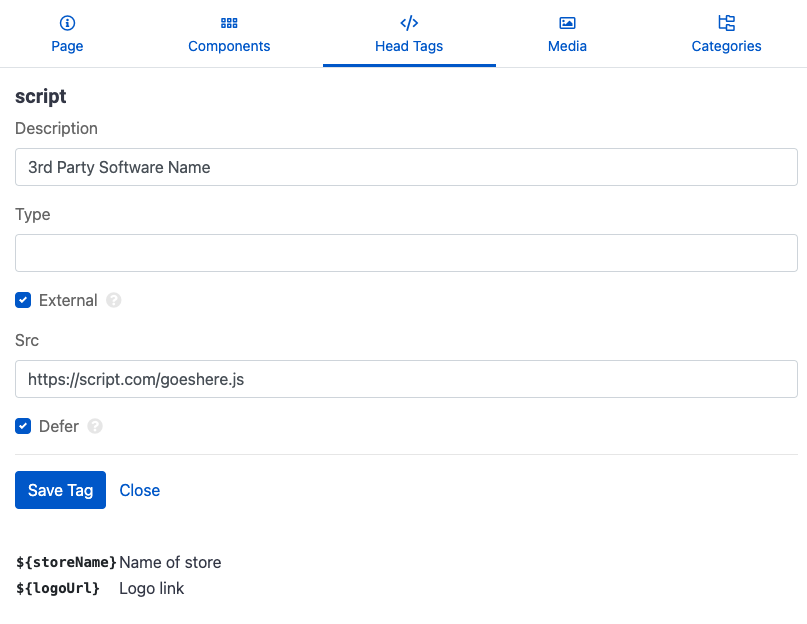
Select Add Tag.
Select Script.
Enter a Description.
Select the External checkbox.
Paste your scripts URL into the Src field.
Select Defer.
Select Save Tag.
Example
Update HTML
Paste the 3rd party library excluding the Script tag we just added in the previous step into your page html or into a global component like the footer.
Example HTML
<div id="your_library_code_without_script"></div>